Each summer as July comes to a close and we head into August, I start getting itchy to get into my classroom and start preparing for the upcoming school year. I have been doing this for 39 summers now, so I think that I have some tips that others can use to get their classroom ready and start the new school year off on the right foot.
1. Start with the arrangement
As I begin prepping my room, I first have to get all of my furniture arranged. As I do this I keep these things in mind:
collaborative seating arrangements
large group space
small group area(s)
timeout or individual workspace
classroom library and reading corner
storage of manipulatives
computer stations and cart
2. Let Go of Your Teacher’s Desk
What? Are you kidding me? Yes, I am completely serious. I did this a couple of years ago and I am so glad I did. I like to have things in my class that add to my students’ learning and can hopefully be used in multiple ways. My desk just wasn’t meeting those requirements. I now have a kidney-shaped table that I also use for meeting with my small groups. It is also used during meetings with my team.
On top of it I have one small basket (containing office type supplies - paper clips, rubber bands, Post-it notes etc,), a stapler, a tape dispenser, an electric pencil sharpen, a can of pencils, pens, and markers, and a basket for students to turn in paperwork.
Since I couldn’t actually put the teacher’s desk out of my room, it became repurposed as a computer station for my students. Several of them can sit at it at a time and use their netbooks to do group work. The drawers now contain office supplies and writing supplies for my students’
use. I let them organize it. It also is used as a station for art projects.
3. The Tech Stuff
What technology tools will you have access to in your classroom? How many computers will you have? Can you bring in a laptop or iPad cart on occasion? Will your computers need to be hard wired or do you have wireless access? If you wheel in a cart, will there be enough room for the kids to access the contents of the cart in a safe manner? Are all cords and connections out of the walkways? Do you have a charging station available if batteries start dying during use? Can the device still be used while plugged into the charging station? Do you have an interactive whiteboard (IWB)? How will you use your IWB during class - for whole group or small group instruction, or both? What other tech hardware do you have?
Whether you are a one-computer classroom or have a tricked-out tech classroom, you have decisions to make regarding how to arrange your space to allow for the best use of the tech you have available. Be very mindful for where your electrical outlets and Internet cables are located in your room. One year I set up my classroom only to discover that I had to flip everything around because of where the ethernet cord dropped into my room.
4. An Individual Space or Two
Let’s face it, we all want our students engaging in great collaborative projects, but occasionally there is going to be the need for a time out space or an “On My Own” spot. I have two of these in my room. I never refer to them as “time out” spots with my students so these areas don’t get a negative connotation. I have had to quietly ask a student to move to one of these locations during small group work. I have also had students ask me if they can move to one of these spots to work on something quietly by themselves. When planning your room arrangement please make sure to include an On My Own space or two.
5. Bulletin Boards
 I can’t tell you the number of hours it used to take me to create beautiful and perfect bulletin boards. I am somewhat OCD, so my lettering had to be exactly straight and items placed on the board had to be just so. Just covering the board with paper and putting up just the right border took forever.
Well, I would rather use my valuable time creating engaging lessons for my students, so I now do BB differently. I buy black plastic tablecloths from the Dollar Store and cover my BB with them. They are a snap to put up and stay looking nice all year long. Student work that is displayed against the black background really “pop”. And that is all I do.
When the kids enter on Day 1, they will be in charge of creating our classroom BBs. I make one of their first assignments something they have to create to let the rest of us learn about them and of course their creations go up on a BB immediately as completed (put there by the student). We brainstorm a class nickname and theme for the year and the kids decide how to decorate our classroom to convey our theme. They love having that autonomy!
6. Classroom Library and Reading Corner
 I believe that every classroom should have a library that the kids use and a reading corner. This can be as elaborate as you would like or just as simple as a small bookcase and a bean bag chair. Check out these boards on Pinterest for some inspiration.
If you have lots of books and have always wanted a great way to catalog them then you will want to head over to Classroom Organizer. I just discovered this site this summer and plan to have some parent volunteers use it to organize all of my books. (You see, I was a reading teacher for over 25 years before I began teaching math and I have thousands of books.)
7. Storage of Manipulatives
No matter what grade level(s) or subject(s) you teach, you have to consider the best way to arrange and store your classroom manipulatives. These items can include such things as base 10 blocks, science equipment, maps and globes, art supplies, learning games, and much more. Where and how will you store them so that they are easy to access and put back? What type of storage devices will you use and how will you label them? Again you can find lots of ideas on Pinterest.
You have to decide what is easiest for you and within your budget. For years I relied on empty copier paper boxes for my storage containers (easy to get and free) and I just labeled them with a Sharpie marker. As the years passed, I started investing in some large plastic storage containers. More recently I have been purchasing clear plastic shoebox containers for many of my smaller manipulatives and supplies, but for years I just used plastic storage bags. Now I’m using our class theme to make labels for the various containers I use.
I have always bought eight containers to put at the collaborative seating groups (I have eight groups of four desks grouped together) in my classroom for easy student access to supplies. Each group captain is responsible to make sure that the container has enough pencils, markers, crayons, glue sticks, etc for the group. If we need a certain supply like dice or index cards for the day’s lesson, I can have each group captain add the item(s) to the containers.
8. Classroom Rules
My school has a set of three rules that are used by all teachers throughout the campus. They are Be Safe, Be Responsible, Be Respectful. They are printed on posters and are displayed in every classroom and in every common area of our school.
If you are responsible for establishing your own classroom rules, again I would involve your students in this process. Have them brainstorm a list, come to consensus on a list that contains three to five rules, and have them create the poster.
9. Classroom Procedures
You need to envision your room full of 20-40 lively and energetic students. Now you need to think of all of the reasons why those students will need to get up and move about your space. What will that look like and how will that sound? It can be chaotic or easy-peasy depending on the class procedures you have in place. Here is a great resource from Scholastic to help you with procedures.
Discuss and model your procedures starting on Day 1. Make it fun by having your students role-play each procedure being done properly and being done incorrectly. Reinforce your procedures with positive comments and maybe even rewards.
10. Extra Special Touches
Do you rely just on the bank of overhead lights in your classroom for lighting? Have you ever thought about adding some task lighting? Check your school policy first to find out if it is okay for you to add some lamps to your classroom. Do you have curtains on your windows or at least valances? I added short valences to my classroom windows and love the effect they create. Do you keep plants in your classroom? Just be careful to add plants that are not toxic and again be aware of your school or district policy regarding plants.
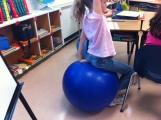 Adding some alternative seating such as bean bags, large throw pillows, crate seats and exercise balls is something you might want to consider. Remember that soft surfaced items help absorb noise. I have some pillow pads on individual chairs too. Maybe add an area rug or ask for some old carpet samples from a retailer. These are great to use when gathering on the floor for large group meetings.
11. Be 100% Ready for Day 1
Classroom set up - check. Plans made for first day and first week - check. All material prepared and gathered - check.
Here is a checklist I have used for quite a few years to help me get ready for that first day of the new school year. I find that the better I am prepared to begin a new year, the better that year seems to go.
12. Clean Your House, Freeze Some Meals, and Organize Your Wardrobe
One of the best tips I ever read (sorry I can’t remember who to credit) was to clean your house thoroughly from top to bottom before school starts. I know, I know. You have hundreds of other things to do to prepare for your school year, when will you possibly fit this in, or why would you even want to. Well, hear me out.
Picture the first week of school. You probably arrive earlier than usual to make sure everything is ready for the day. You also probably stay later to run off papers, work on lesson plans, and get everything squared away in your classroom. When you finally do get home you will be tired and will probably have things to do to prepare for the next day, the next week, the next month.
Which front door would you rather open? One that leads into a chaotic, unorganized, cluttered space, or one that opens onto a calm and serene setting where things are where they should be and little is needed from you at that particular moment to make it so. I definitely prefer the later. I can spend time on school work without my guilty conscience voice nagging at me about housework chores that need attention.
Spend some of your last few days of summer vacation stocking up your freezer with some meals for you to grab when cooking dinner just doesn’t fit into your schedule. (I know I don’t cook much during the first couple of weeks of school.) Check out this post to find out how the blogger spent about four hours to prepare 46 meals.
Since I am definitely not a morning person, I always decide what I’m wearing the next day before I go to bed. At the beginning of the school year, I organize my closet so that my outfits are ready to go for the entire first week of school, right down to the accessories. (Tip - put jewelry in a baggie and add it to the hanger.)
Well, there you have it. My 12 tips for getting ready for the school year. I hope something I shared here is useful to you. I wish each and every one of you a terrific 2015-2016 school year. Make it a great year or not, the choice is yours.
How are your preparations coming along? What would you add to the list?
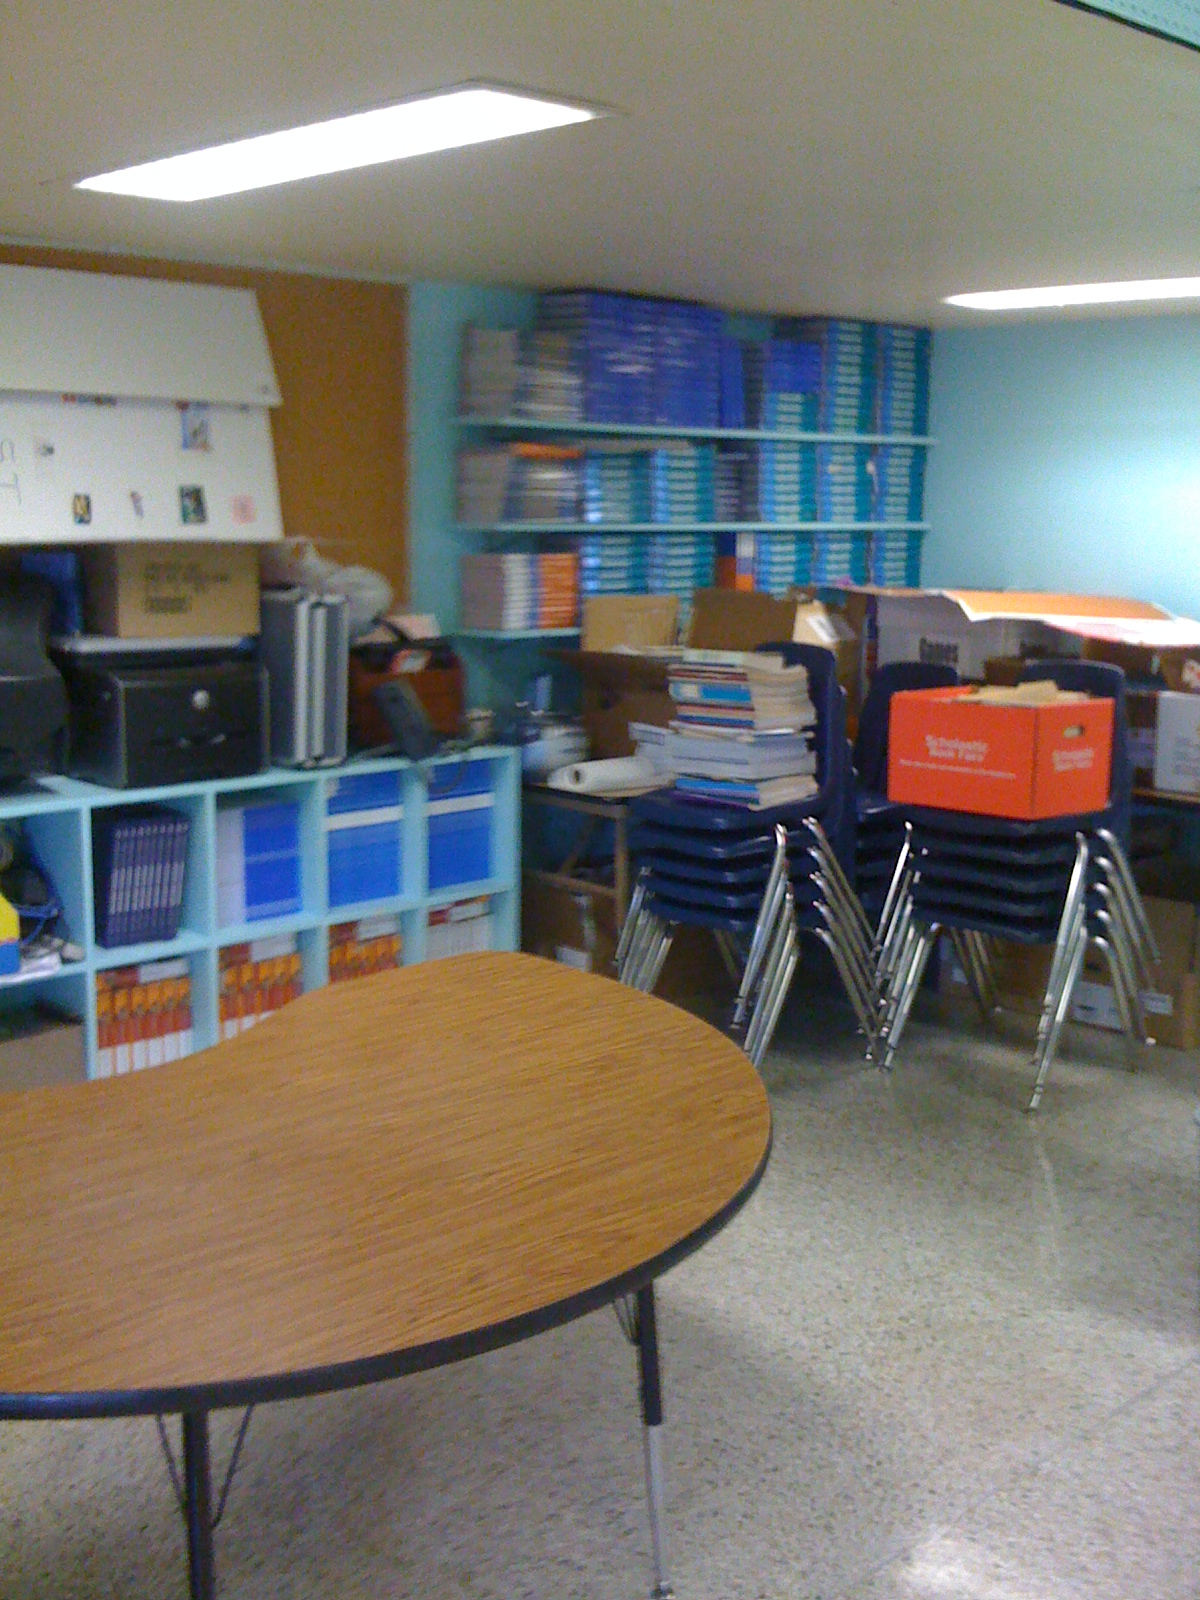
Photo credits - Classroom by Paula L Naugle
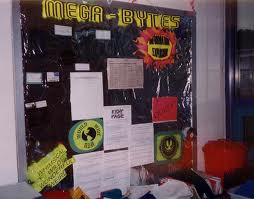
Bulletin Board by F. Delventhal CC licensed on Flickr
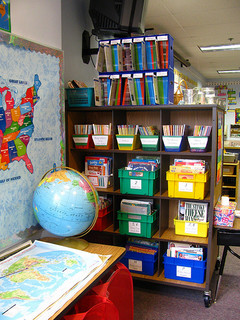
Classroom Library by LizMarie_AK CC licensed on Flickr
Exercise Ball in Classroom by Pam Moran (used with permission)